

What you get
You add the hosted each::labs MCP server athttps://mcp.eachlabs.ai/mcp to Claude as a connector. It lets Claude use each::labs tools: the model catalog, run_model, the workflow tools, the video tools and the cards. The MCP Server page lists them. You describe the task and Claude chooses the tools.
A card is a small interactive panel that Claude shows inside the conversation: you upload a file on it, adjust a model’s settings, pick one of several results, or choose a range on a timeline. When you press a card’s button, Claude continues on its own; there is nothing to type.
Cards work only in AI apps with a chat interface, such as claude.ai and Claude Desktop. Terminal apps such as Claude Code show no cards. There, Claude gives you results as text with links, and asks you in the chat for anything a card would collect: a file link, times, a crop area, settings or which variant you want.
What you can ask
Ask in your own words. Claude chooses the model, builds its input and runs it. Each job is billed to the each::labs organization you chose at sign-in. The examples below show cards, which appear in claude.ai and Claude Desktop. Claude Code has no cards, so for the same requests it shows results as links, and asks you to type in the chat what a card would let you click: a link to your file instead of uploading it, start and end times instead of dragging a timeline, a crop area in pixels instead of drawing a rectangle, setting values instead of a form, and the number of the variant you want instead of pressing Use variant.Generate images and pick one right in your AI conversation
Give me four variants of a fantasy trading card with a fire dragon. I want to pick one.The results arrive together on one card. Select the one you like, as often as you like; the button under them then reads Use variant 2, or the number you selected. Press it and Claude continues with that image. The choice is final. One request makes up to 8 variants.
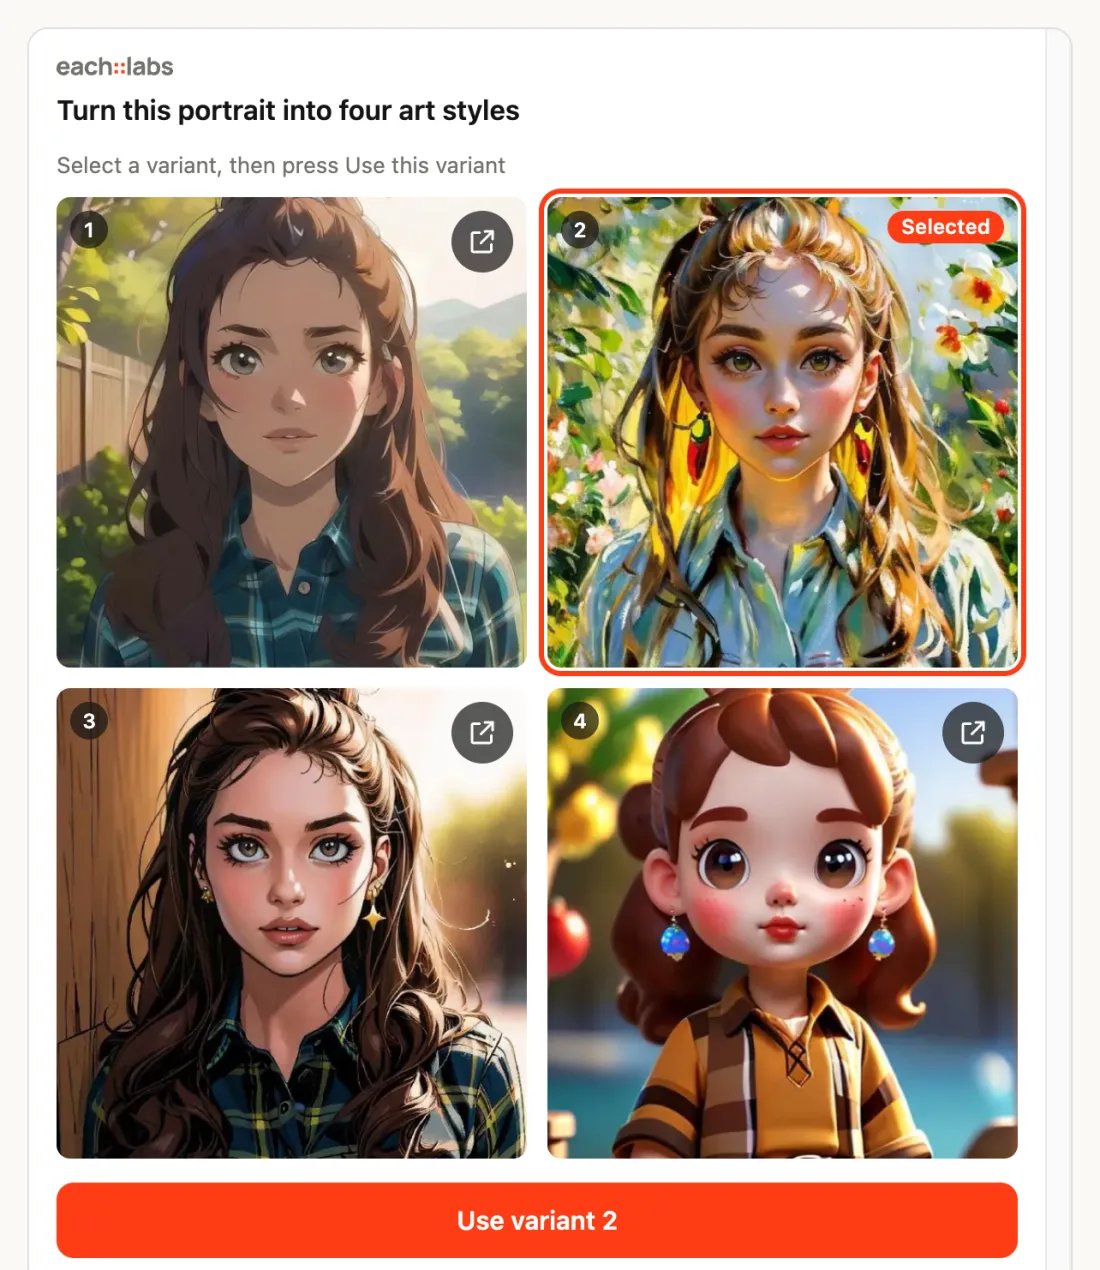
Four variants on one card, with the second one selected
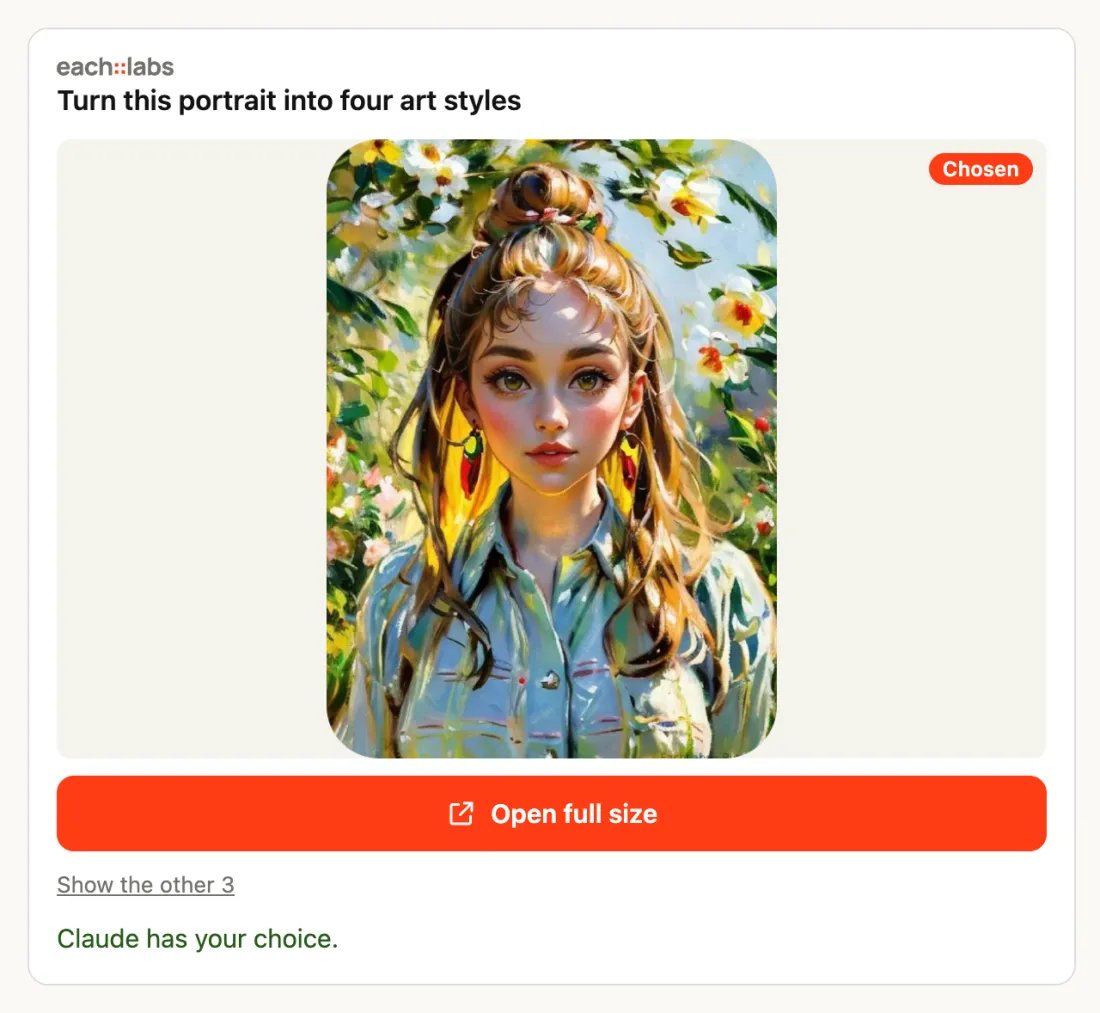
After the choice: the chosen variant on top, the others one click away
Edit a photo and compare before and after
Keep the astronaut exactly as it is and fill the black background with a dense, bright field of stars.If you have not given the photo yet, Claude shows the upload card first. The edited image comes back with a Compare button. Press it and drag the handle: the original is on the left, the result on the right.
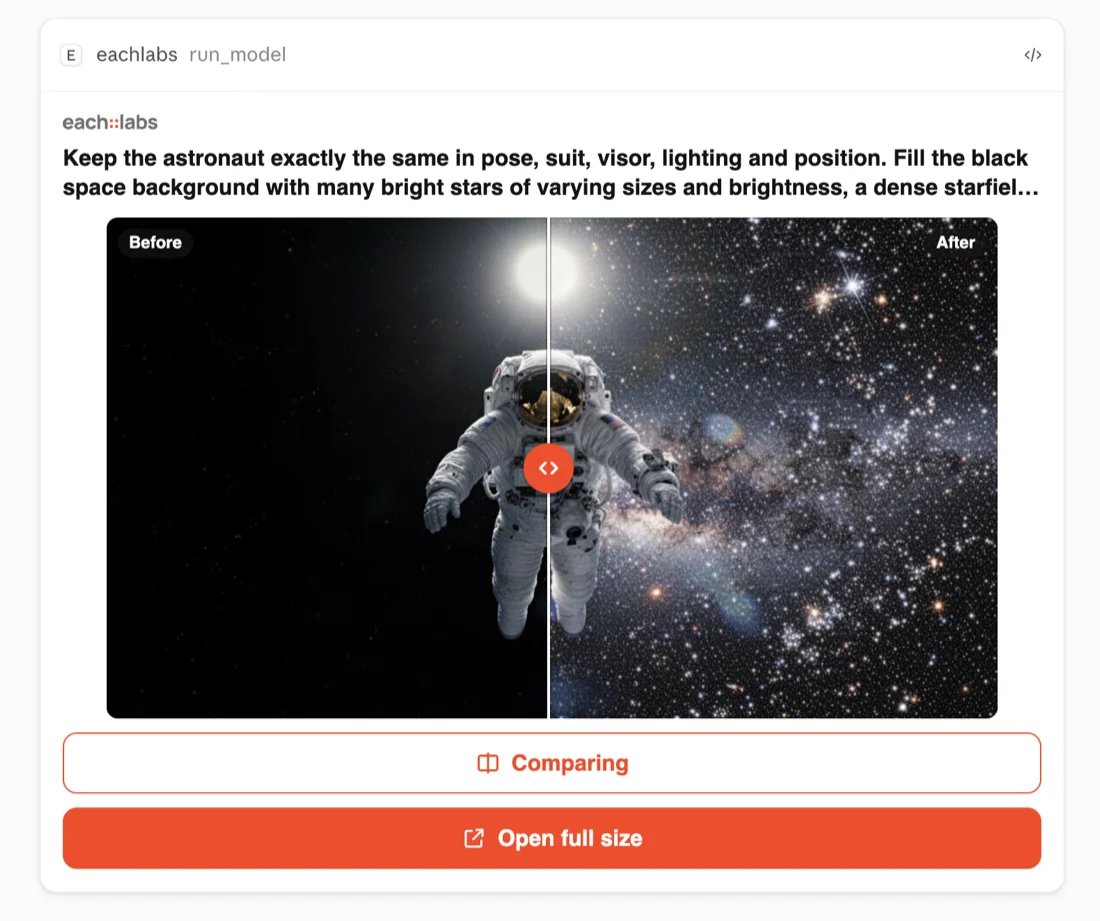
Before and after an edit, with the handle in the middle
Turn a dozen screenshots into one slideshow
Make a slideshow video from my 12 app screenshots, 3 seconds each.One upload card takes the whole set. Drop all twelve at once; they upload four at a time, each with a thumbnail and a progress bar. When every file is up, Claude picks them up and returns the video on a result card with a player and a download button.
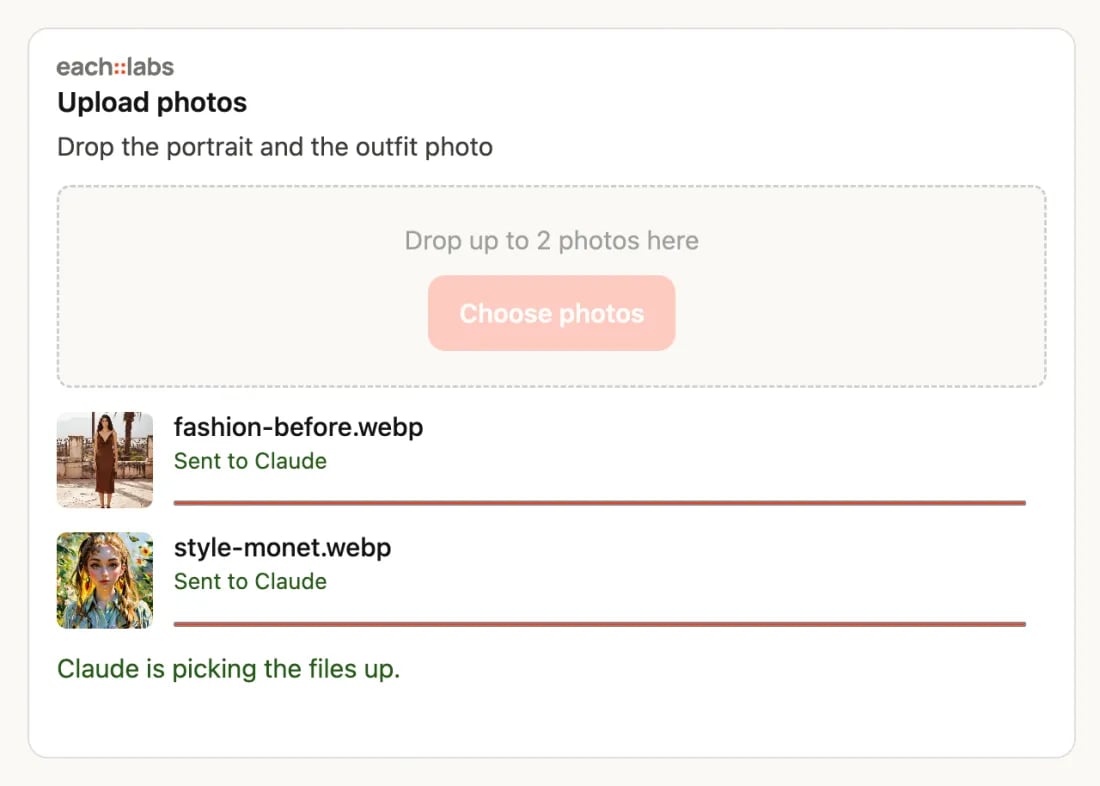
The upload card with two photos uploaded and sent to the chat
Make music, then trim it
Compose an upbeat lo-fi track, a little over a minute long.The track comes back with a player and one download button per format. Then:
Cut it down to the part I like.Claude shows the track on a timeline with two handles. Drag them, press Preview to listen, and press Use this range. When you give exact seconds instead, such as “keep 0:05 to 0:20”, Claude trims without a card.
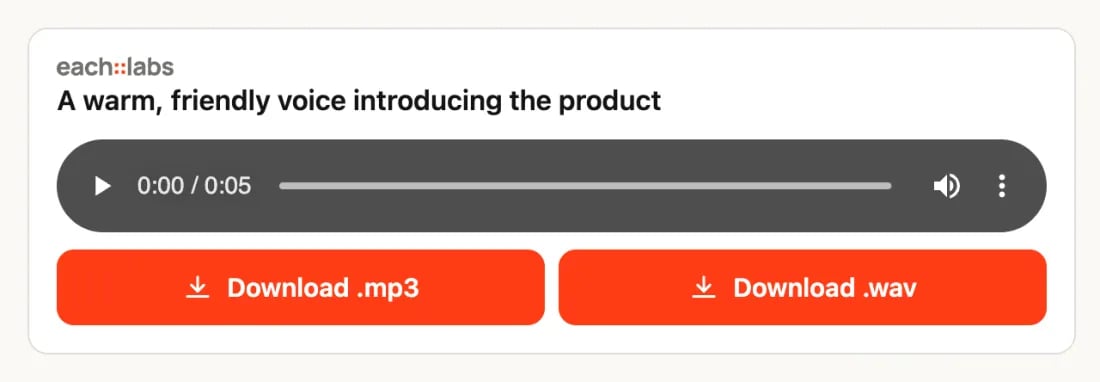
An audio result with a player and download buttons
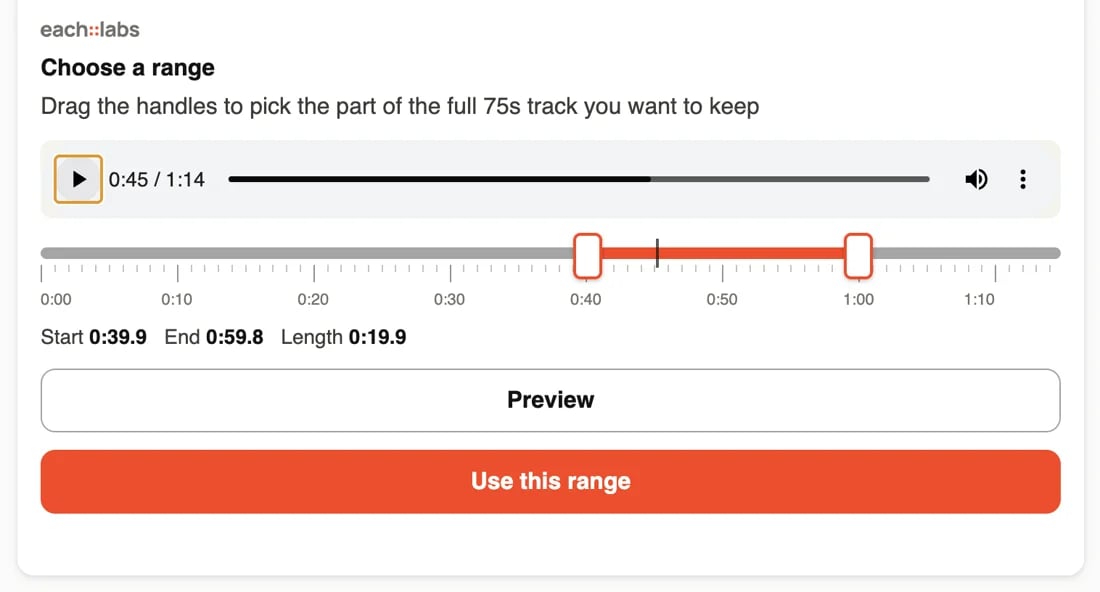
Choosing a range of an audio clip
Make a video from a photo
Turn this photo of a futuristic city into a one-minute video where the camera slowly pulls back over the skyline at sunset.Claude asks for the photo on an upload card, runs a video model and shows the clip on a result card that plays in the conversation. A video often takes 5 to 10 minutes; Claude shows it as still running and checks again until it is done. See When a tool says running.

A finished video in the conversation
Adjust the settings before a run
Restyle this portrait as a Monet oil painting. Let me adjust the settings first.Claude shows the model’s settings as a form: the prompt, size, number of images, seed and any other option the model takes. Change what you want and press Run. After the first run of a model in a conversation, Claude ends its reply with a short Adjust generation settings line naming a few of that model’s settings; ask to change any of them and the form appears.
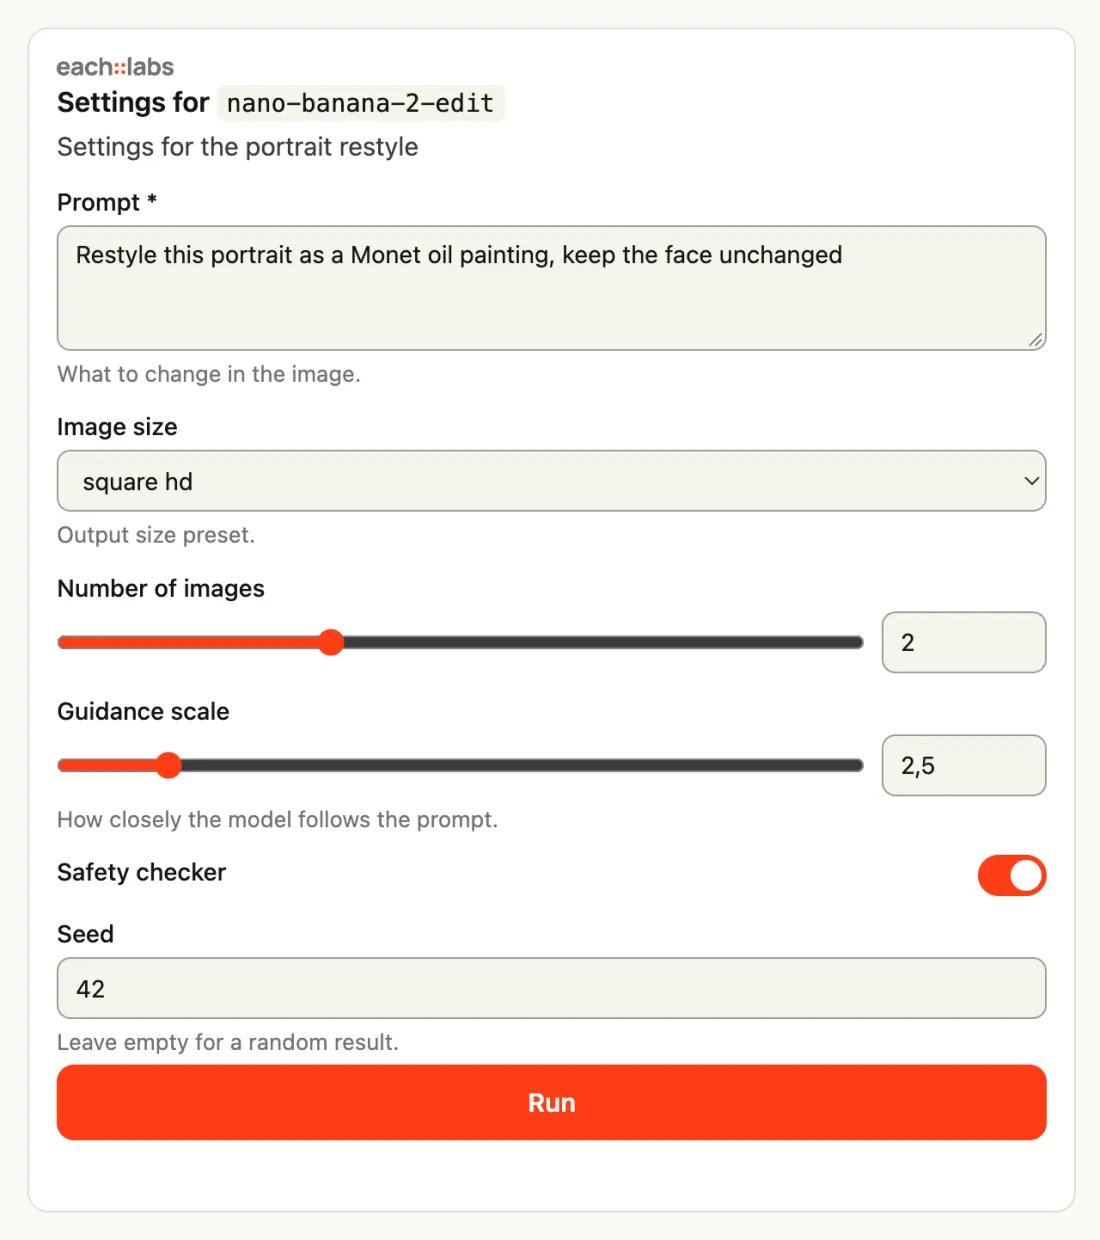
A model's settings as a form, with a Run button
Run your organization’s workflow
Which workflows do we have? Run our product clip workflow with this tote bag photo.Claude lists the workflows your organization built in the dashboard. When a workflow needs inputs you have not given, Claude shows them as a form, with a file picker for each photo, video or audio input. Press Run; the outputs show together as a gallery.
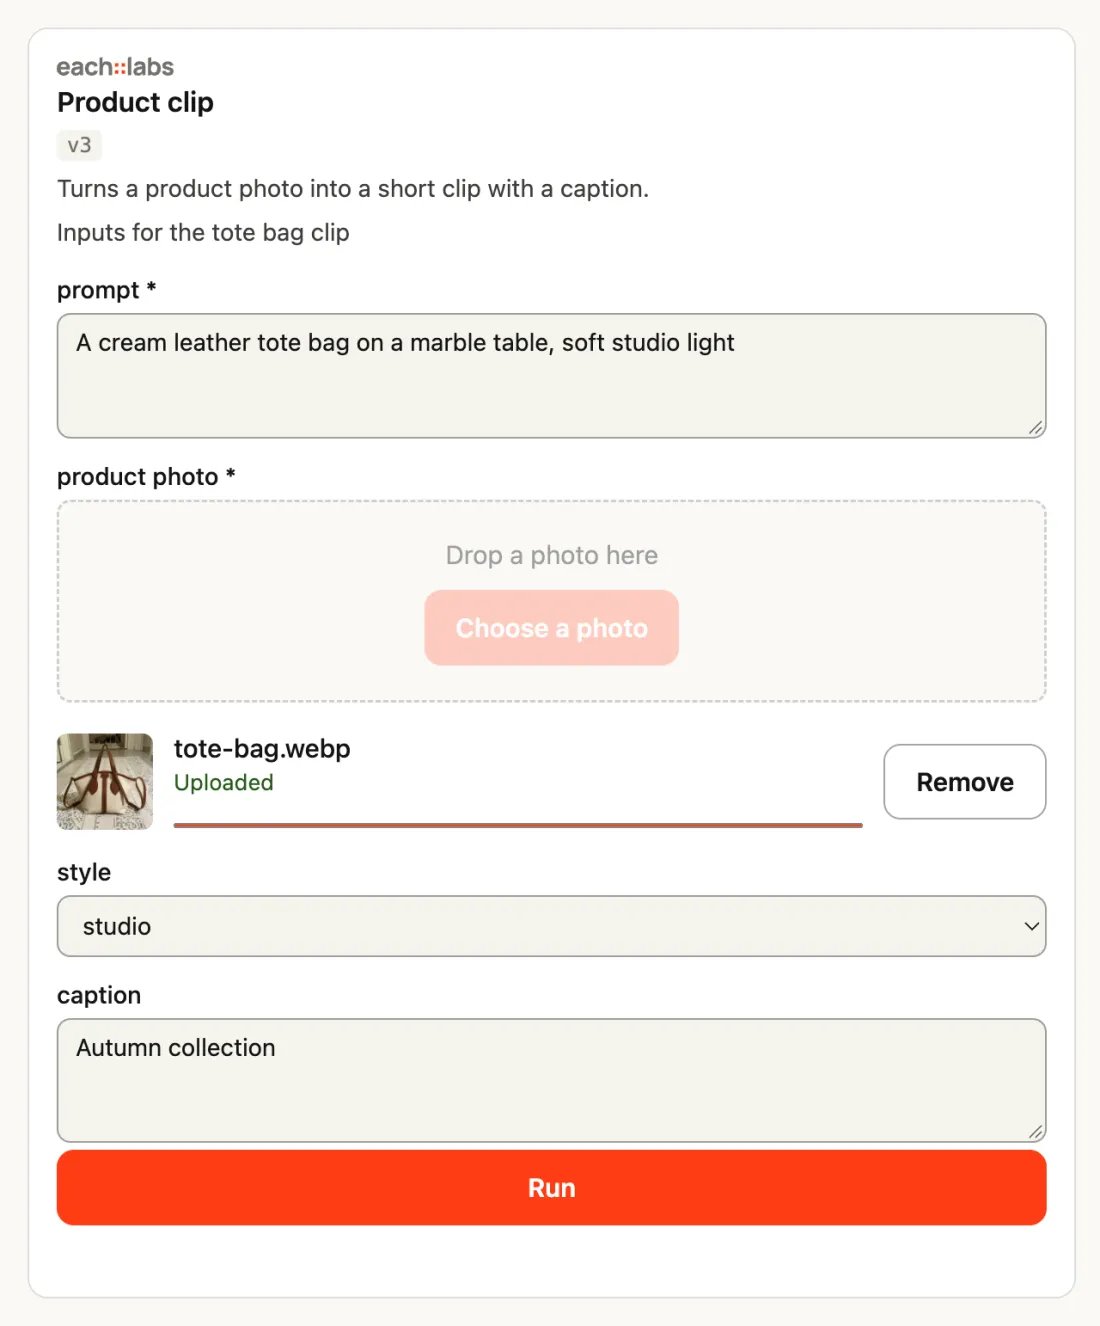
A workflow's inputs as a form, with the photo uploaded on it
Cut and crop media
Trim this video for a story.Claude shows the video with a timeline. Drag the two handles to the part you want to keep, check it with Preview, and press Use this range. To crop, ask “crop it to 9:16”: Claude shows the first frame with a rectangle. Move and resize it, or lock it to 1:1, 16:9, 9:16 or 4:5, and press Use this crop. Exact numbers, such as “cut the first 10 seconds”, skip the card.
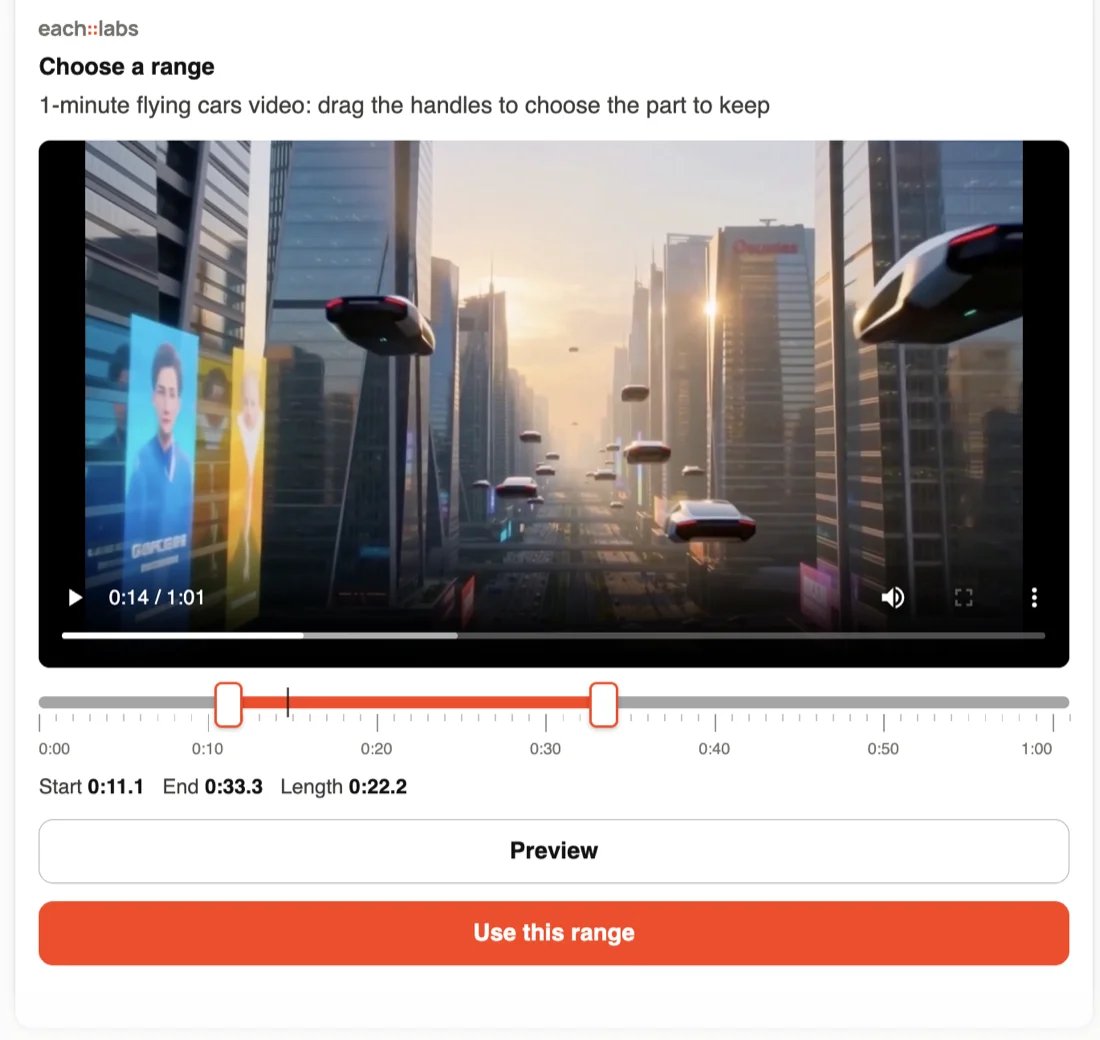
Choosing a range of a video
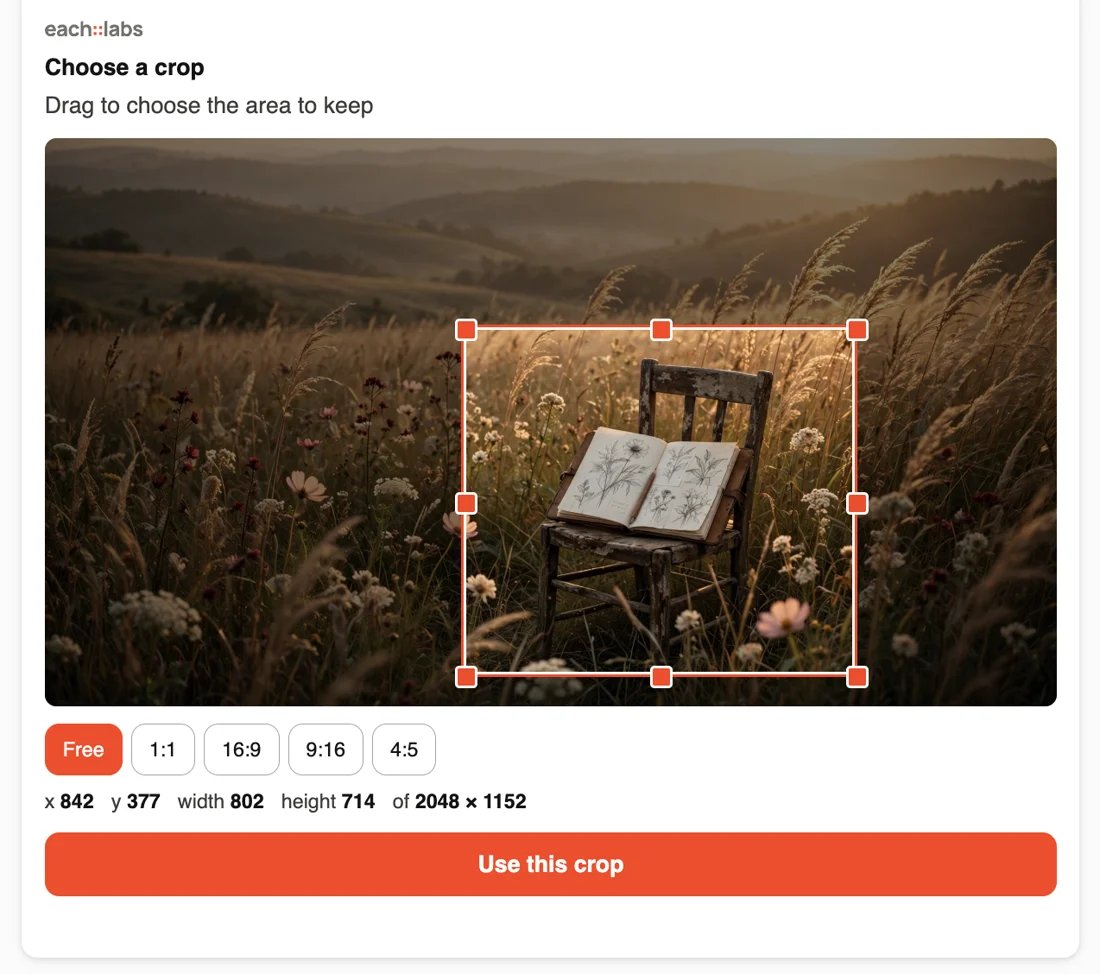
Choosing a crop on a picture
Add the connector
Pick the tab for where you use Claude. On a Team or Enterprise plan, read Team and Enterprise plans first: an Owner may already have added the connector for you.- claude.ai and Claude Desktop
- Claude Code
The steps are the same in the browser and in the desktop app’s chat. Customize is the page that holds your connectors.On the Free plan you can add one custom connector.
1
Open Customize > Connectors
Go to Customize > Connectors.
2
Add a custom connector
Click Add custom connector.
3
Enter the server URL
Enter
https://mcp.eachlabs.ai/mcp. Leave the OAuth client ID and secret empty; each::labs sets them up for you.4
Add and connect
Click Add, then Connect. The each::labs consent page opens; see First sign-in.
Team and Enterprise plans
An Owner adds the connector once for the organization, and each member then connects it and signs in with their own each::labs account. Each member’s each::labs account must belong to the each::labs organization that should pay for the runs, and the member picks that organization at sign-in. A member who signs in with a personal account and organization is billed there instead.- Owner
- Member
1
Open organization connectors
Go to Organization settings > Connectors.
2
Add a custom connector
Select Add, then Custom. If Claude asks for the connector type, choose Web.
3
Enter the server URL
Enter
https://mcp.eachlabs.ai/mcp. Leave the OAuth client ID and secret empty.4
Add the connector
Click Add. The connector now appears under Customize > Connectors for members, with the Custom label.
First sign-in
Connecting opens the each::labs consent page in a new browser tab.- If you are not signed in to the each::labs dashboard, the page sends you through sign-in and back to the consent page.
- Choose the Organization. The page states: Predictions will run and bill as <organization>. Every job you run from Claude is charged to this organization at the same prices as the API.
- Review the permissions listed (the scopes) and click Approve.
Tool approvals
Before running a tool that creates something (a model run, a workflow run, a file upload), Claude asks you to allow it. Always allow remembers the answer for that tool. Tools that only read (checking a job, listing models or workflows) run without a prompt. The first time a card appears, Claude also asks whether to show the each::labs app; allow it. You can turn the connector off for one conversation: click the + button in the chat and select Connectors, then turn each connector on or off for that conversation.Give a file as input
Many requests start from your own photo, video or audio file. Tool inputs are URLs, and a file attached with Claude’s paperclip stays inside Claude: it cannot reach a connector tool. When a model needs a file, Claude shows the each::labs upload card instead. Put the file on the card, not on the paperclip.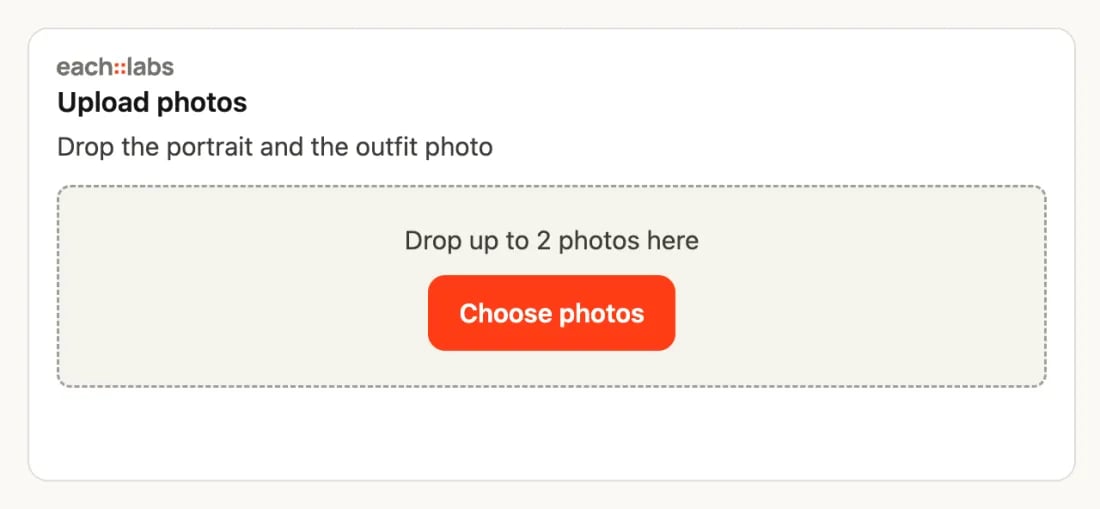
An upload card waiting for two photos
Cards in the conversation
Besides the upload card, these cards appear. What you can ask shows each one.
A card that cannot load in your app says so and tells you what to give in the chat instead, such as a public file link or the start and end times.
A card you already used stays locked on your choice when you come back to the conversation later. To see a result again, ask Claude to show it; it shows the file on a card without running anything.
When a tool says running
A tool waits about 20 seconds for its job. A job that takes longer, such as a long video or a multi-step workflow, shows as still running, and Claude checks again until the job is done, then shows the result. The job keeps running on each::labs the whole time. You do not need to ask; if Claude stops before the job is done, ask “is that job done?” and it checks again. When you asked for several variants, Claude checks on all of them together, and they arrive on one card with the picker once every variant is done. Claude can also look up your organization’s recent runs, for example to pick up a run it started earlier after a brief connection interruption, and continue with it rather than starting a new one. That list shows only each run’s id, model, status, time and result link. Long videos can take 5 to 10 minutes. Claude keeps checking until yours is ready, and asks you before trying a different model. You are billed once, when the job runs, not for checking. Details are under Long jobs. Results are URLs to files on each::labs storage, kept as long as uploads. Download anything you want to keep longer. A data result, such as a transcript or an analysis, comes back as text without a card.Remove it
Policies: Acceptable Use · Abuse & Takedown · Billing & Limits